Fixing my Keyboard
A few weeks ago I wrote about how I broke my keyboard. I learned an important lesson that day: moving fast and breaking things is all well and good with software, but with hardware it’s not the best strategy.
In any case, I recently purchased a soldering iron (and solder) for a different project, and I guess it’s time to put it to use again.
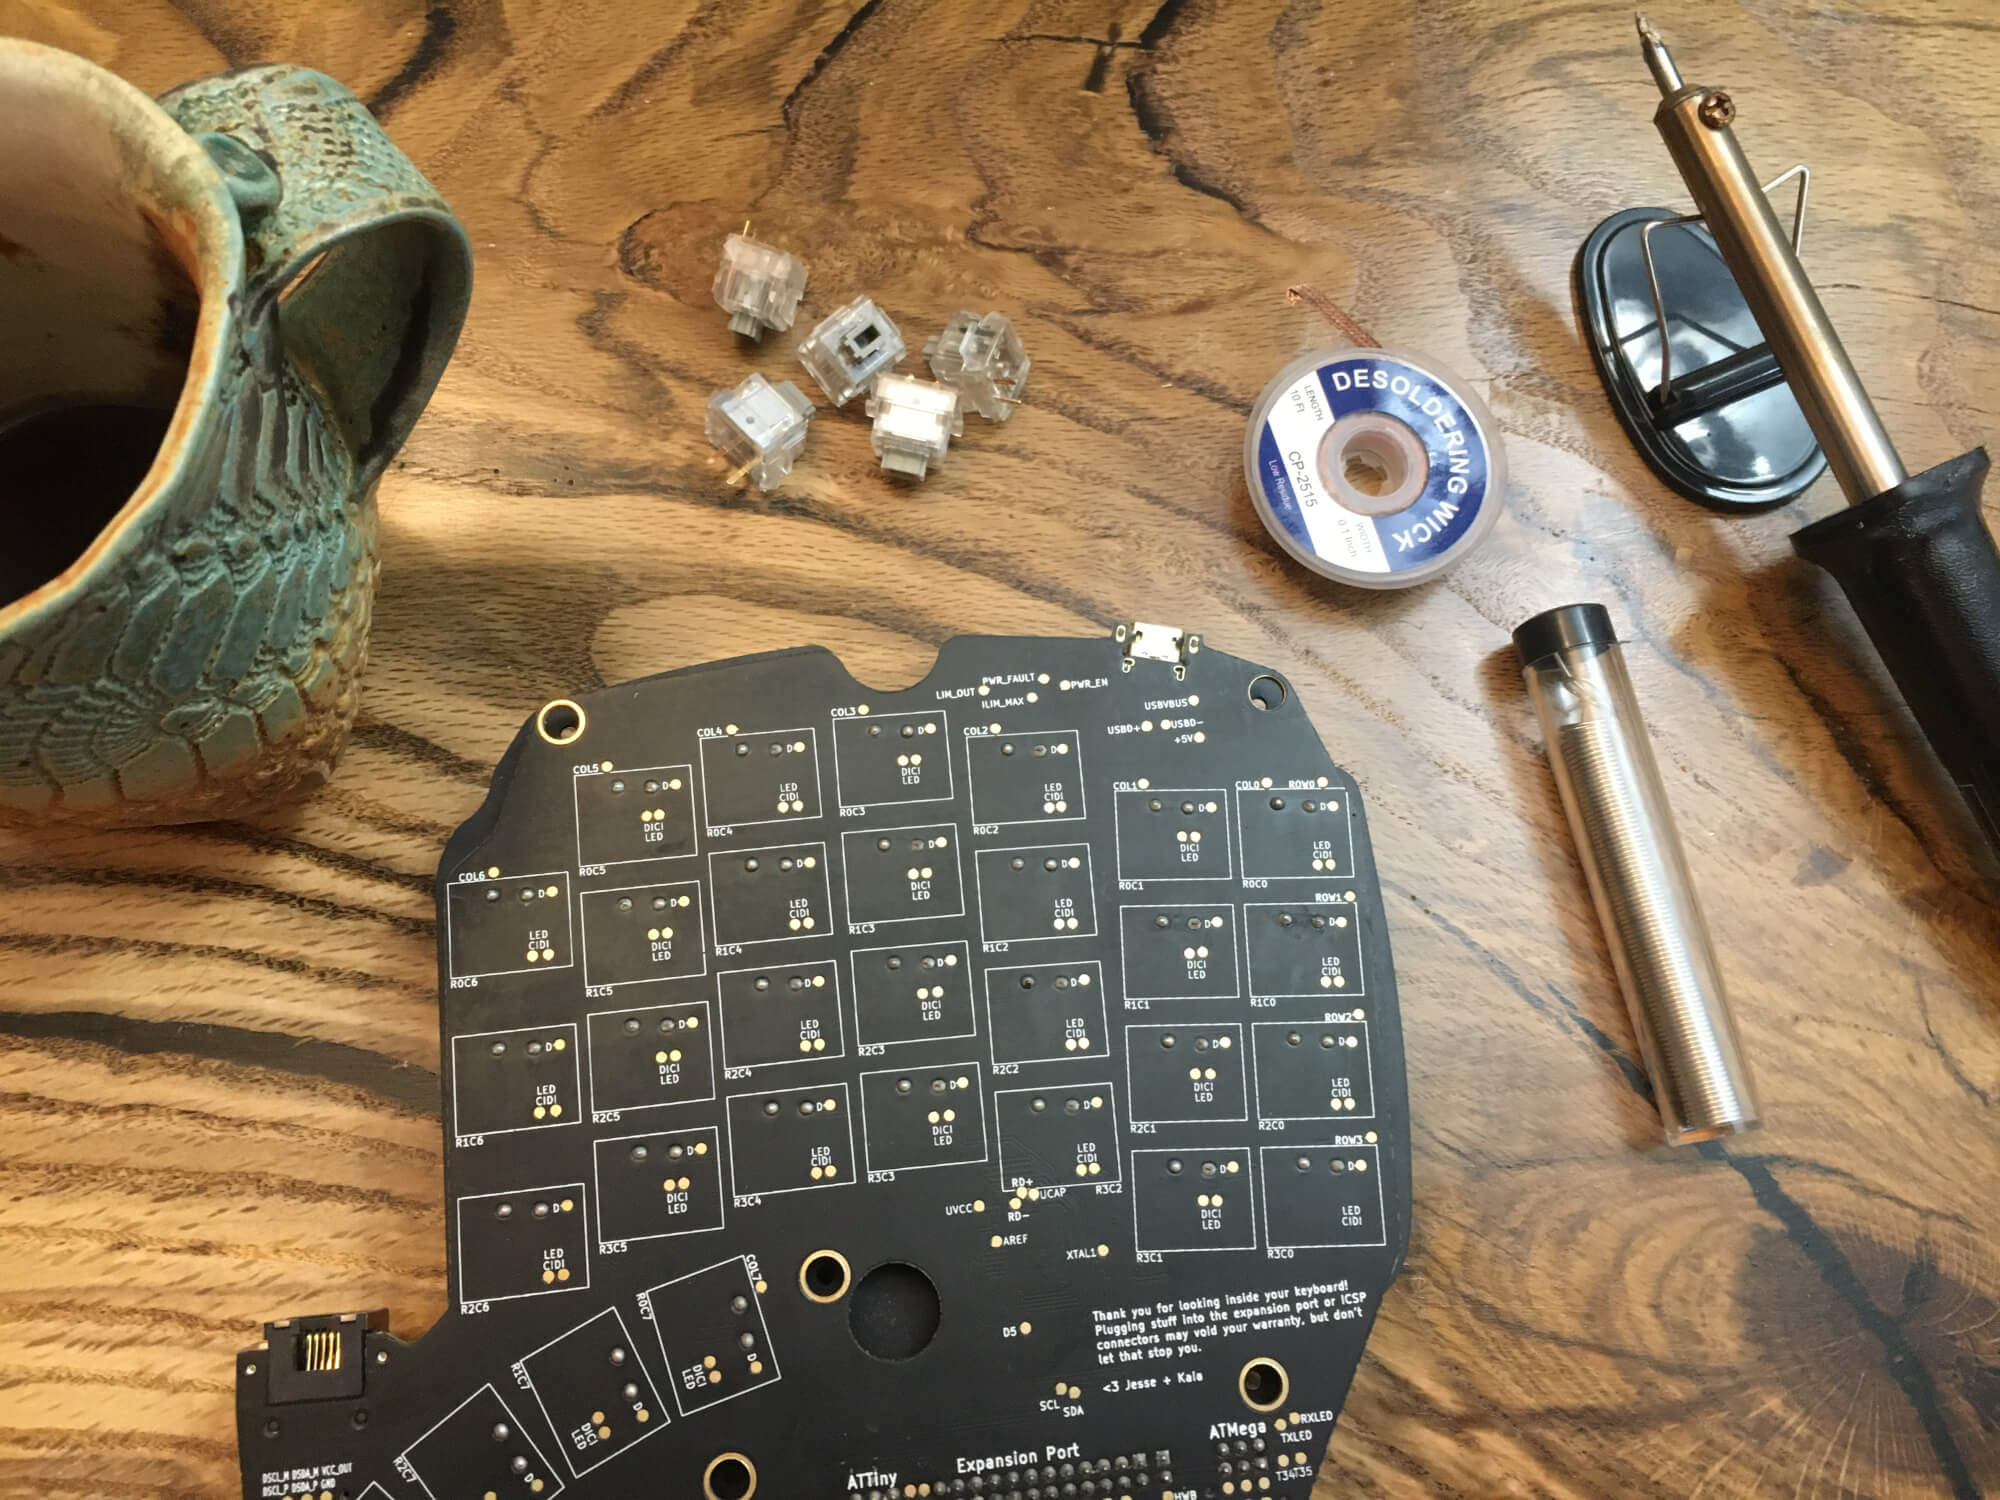
In addition to those items, I also purchased the “desoldering wick” shown in the picture above, and ten extra Matias quiet click key switches.
I bought desoldering wick because it seemed to be the cheapest way to desolder. People on YouTube seem to prefer “desoldering pumps”, and maybe I should have sprung for one. But I’m cheap, and it will probably be a long time until I need to desolder something again, so I went with the inexpensive option.
I’ve never desoldered anything before, and I’ve only soldered a couple of times, so I’m nervous about practicing on my heirloom-quality keyboard. But I’m also embarrassed that I took pliers to the switch in the first place, so I’m determined to fix it myself. Plus it’s an important skill for me to develop if I want to use this keyboard for the rest of my life (and I do)
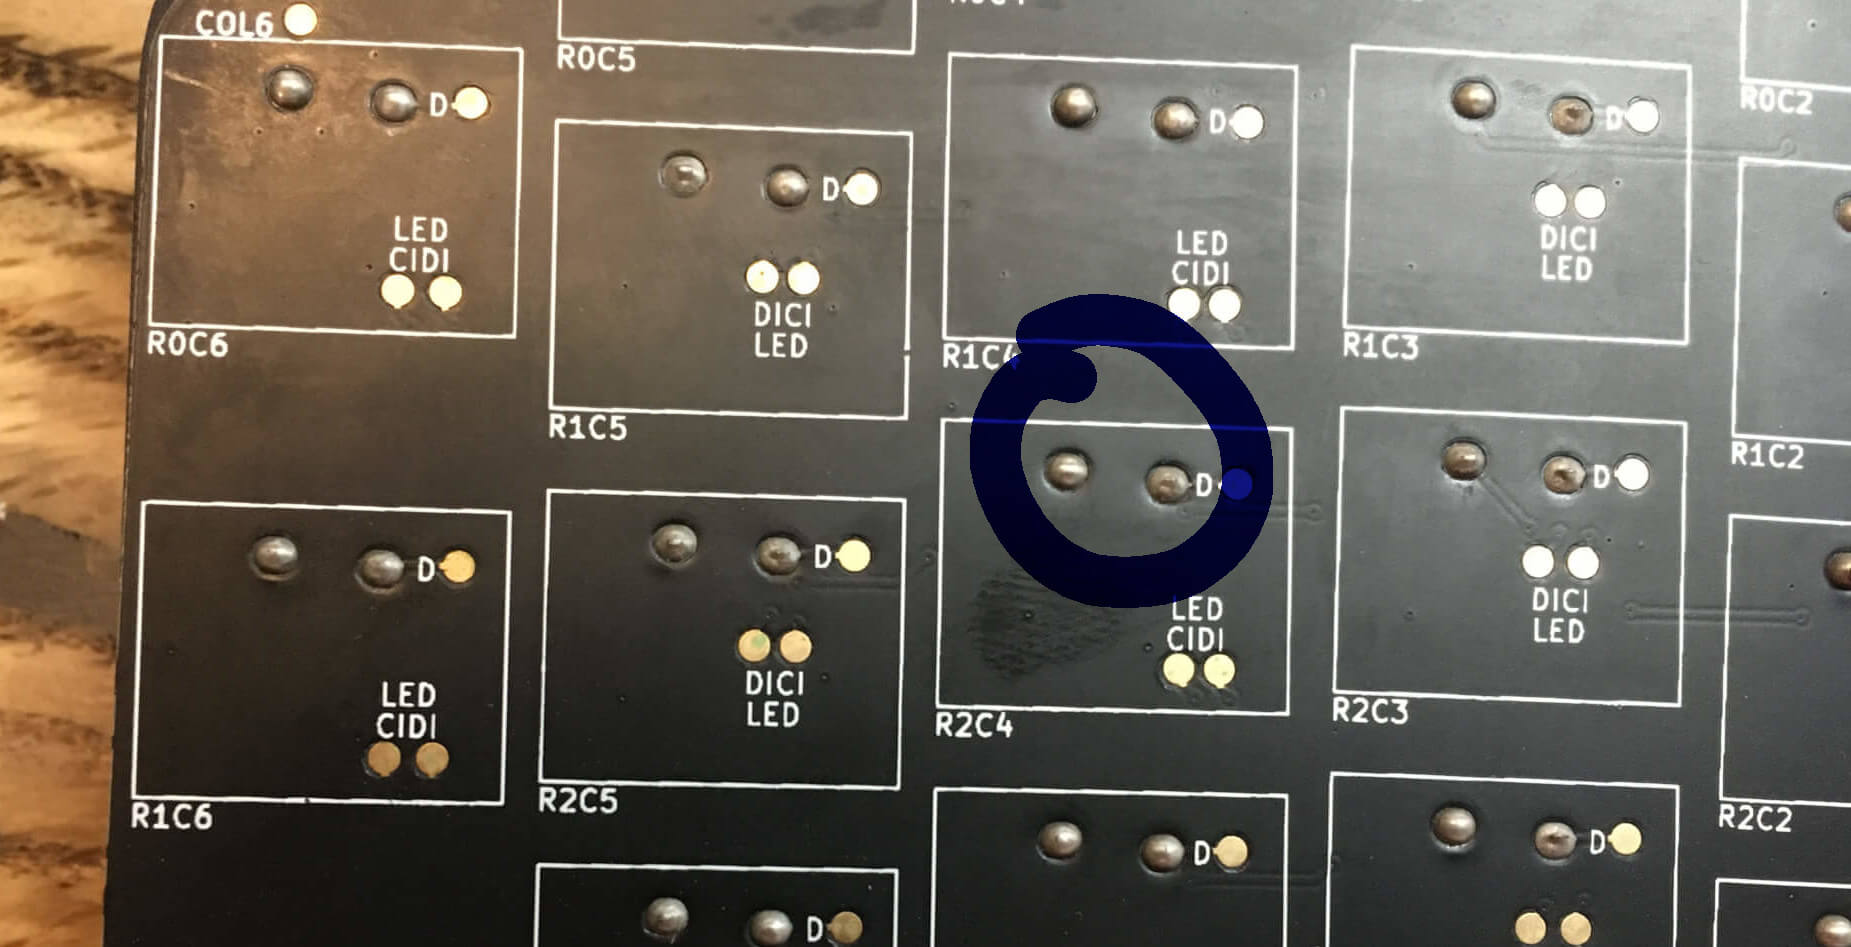
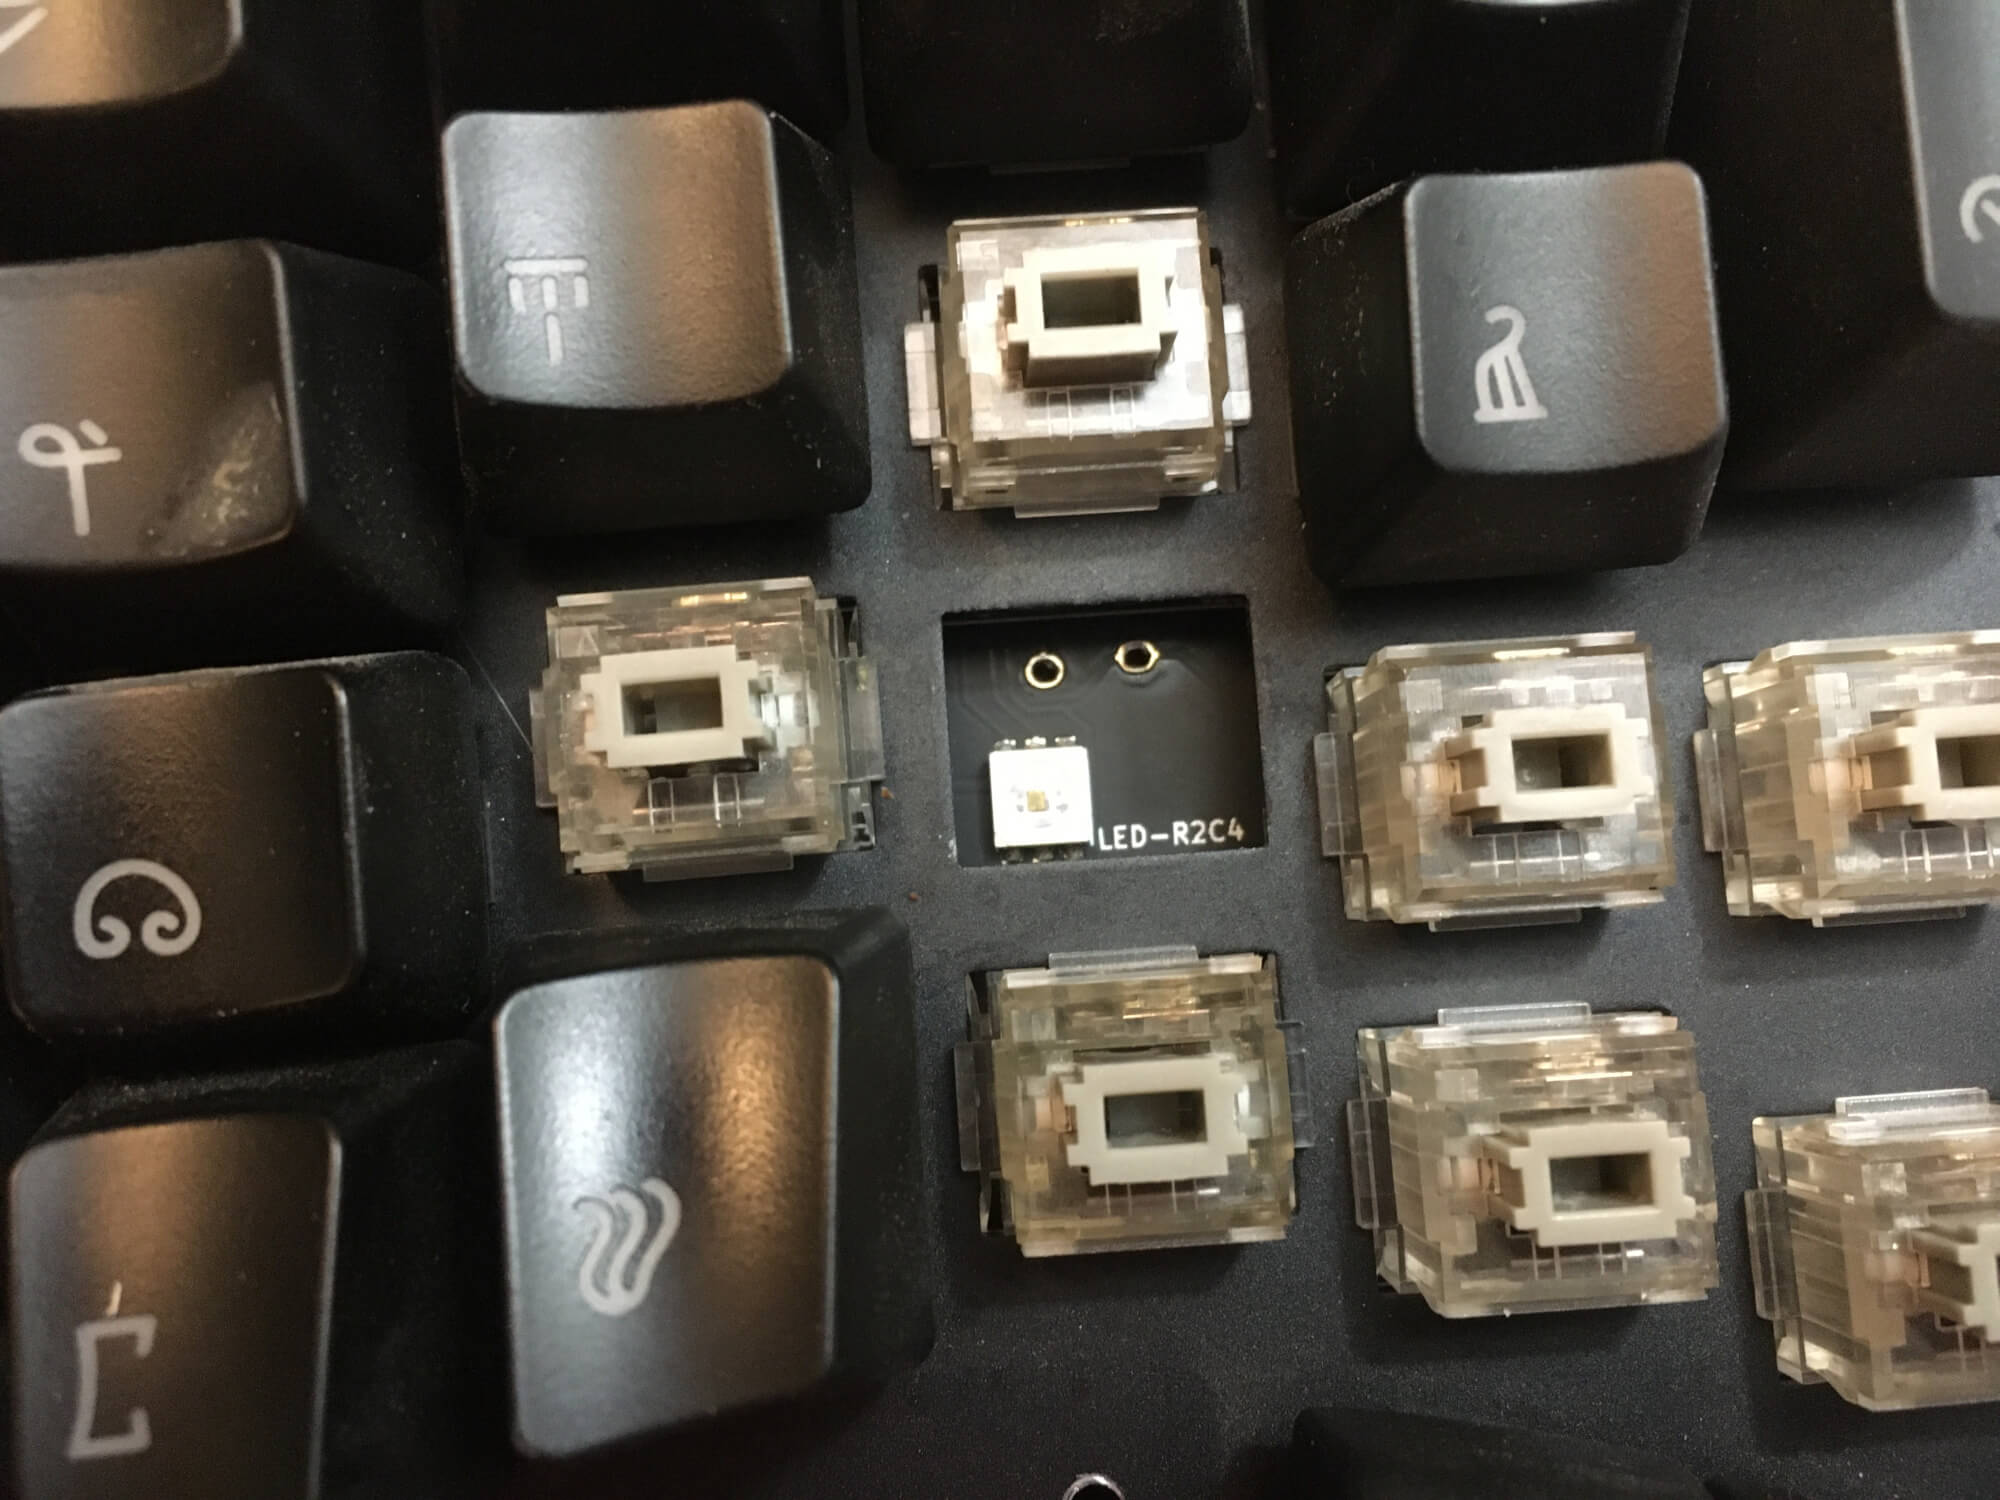
Circled above is my nemesis: those two tiny silver nubs. They look so neat and tidy, I can only hope I’ll be able to come close to matching that.
Only one way to find out.
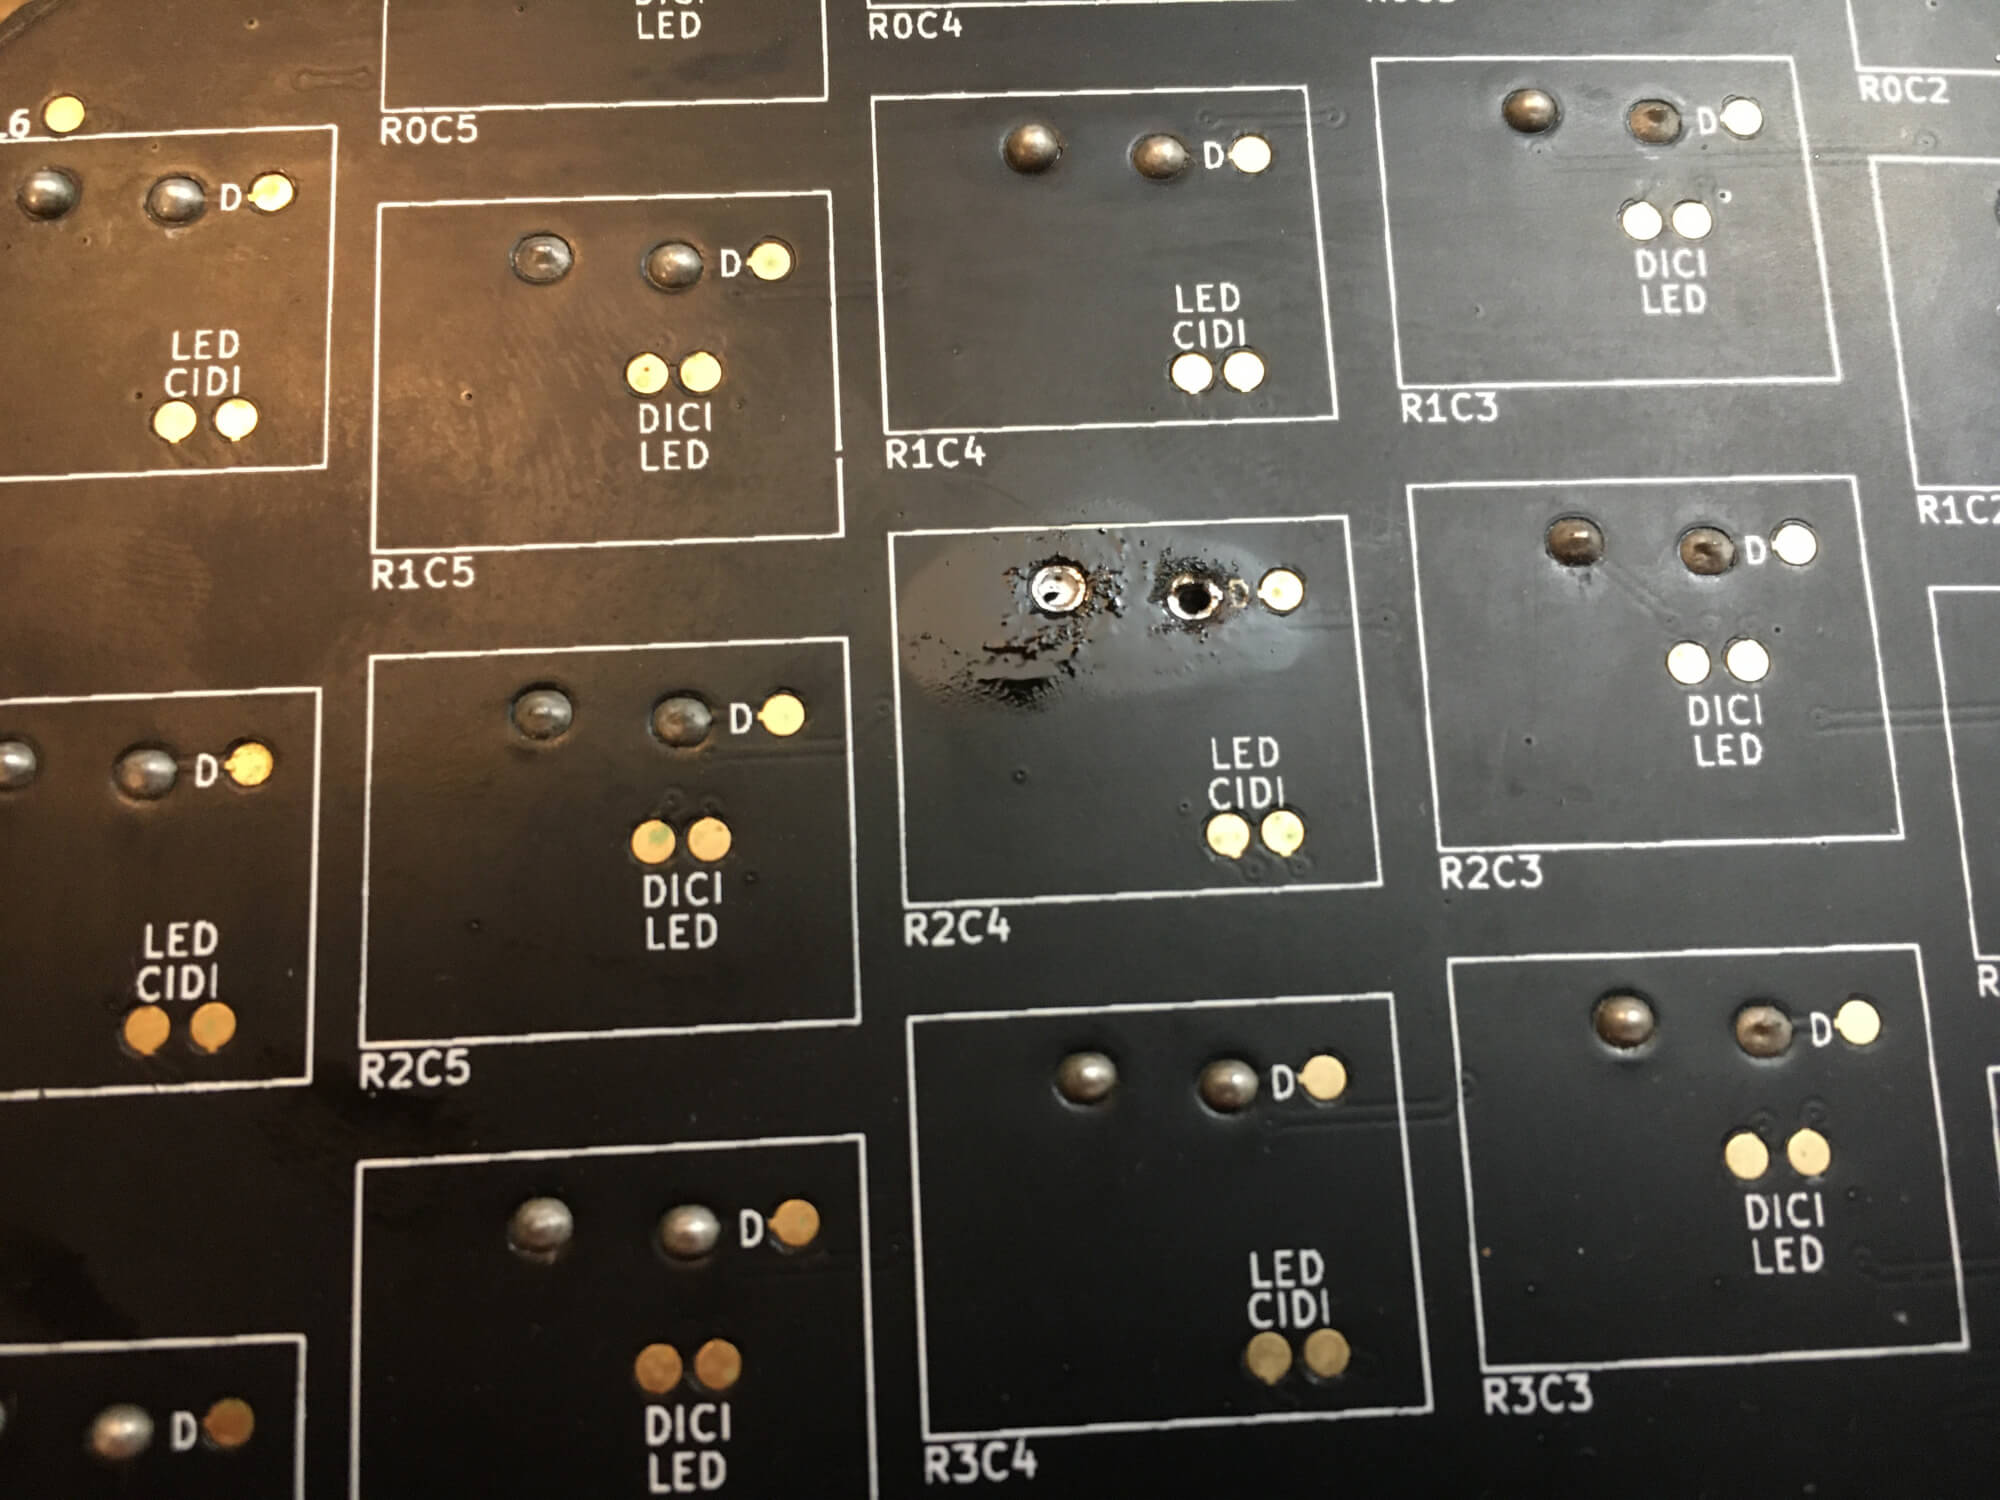
Well, my first pass went decently well. I managed to fully desolder one of the wires, and the switch feels looser.
Desoldering is tricky. I have a lot of trouble with temperature management. I don’t know if the fault lies with me, or my incredibly cheap equipment, but it seems like it takes a long time for the solder to melt. And once it melts, I have a very short window of time to get the wick into the right place. Even worse, if I do get the wick there in time, I often forget to leave the iron in place, and the wick solders itself to the board.
I should have taken a picture of my wick soldered to the board, but honestly I was freaking out about it too much to think about it. Ha.
Well it took a couple of tries, but I eventually got the second pin desoldered as well. Two clean holes!
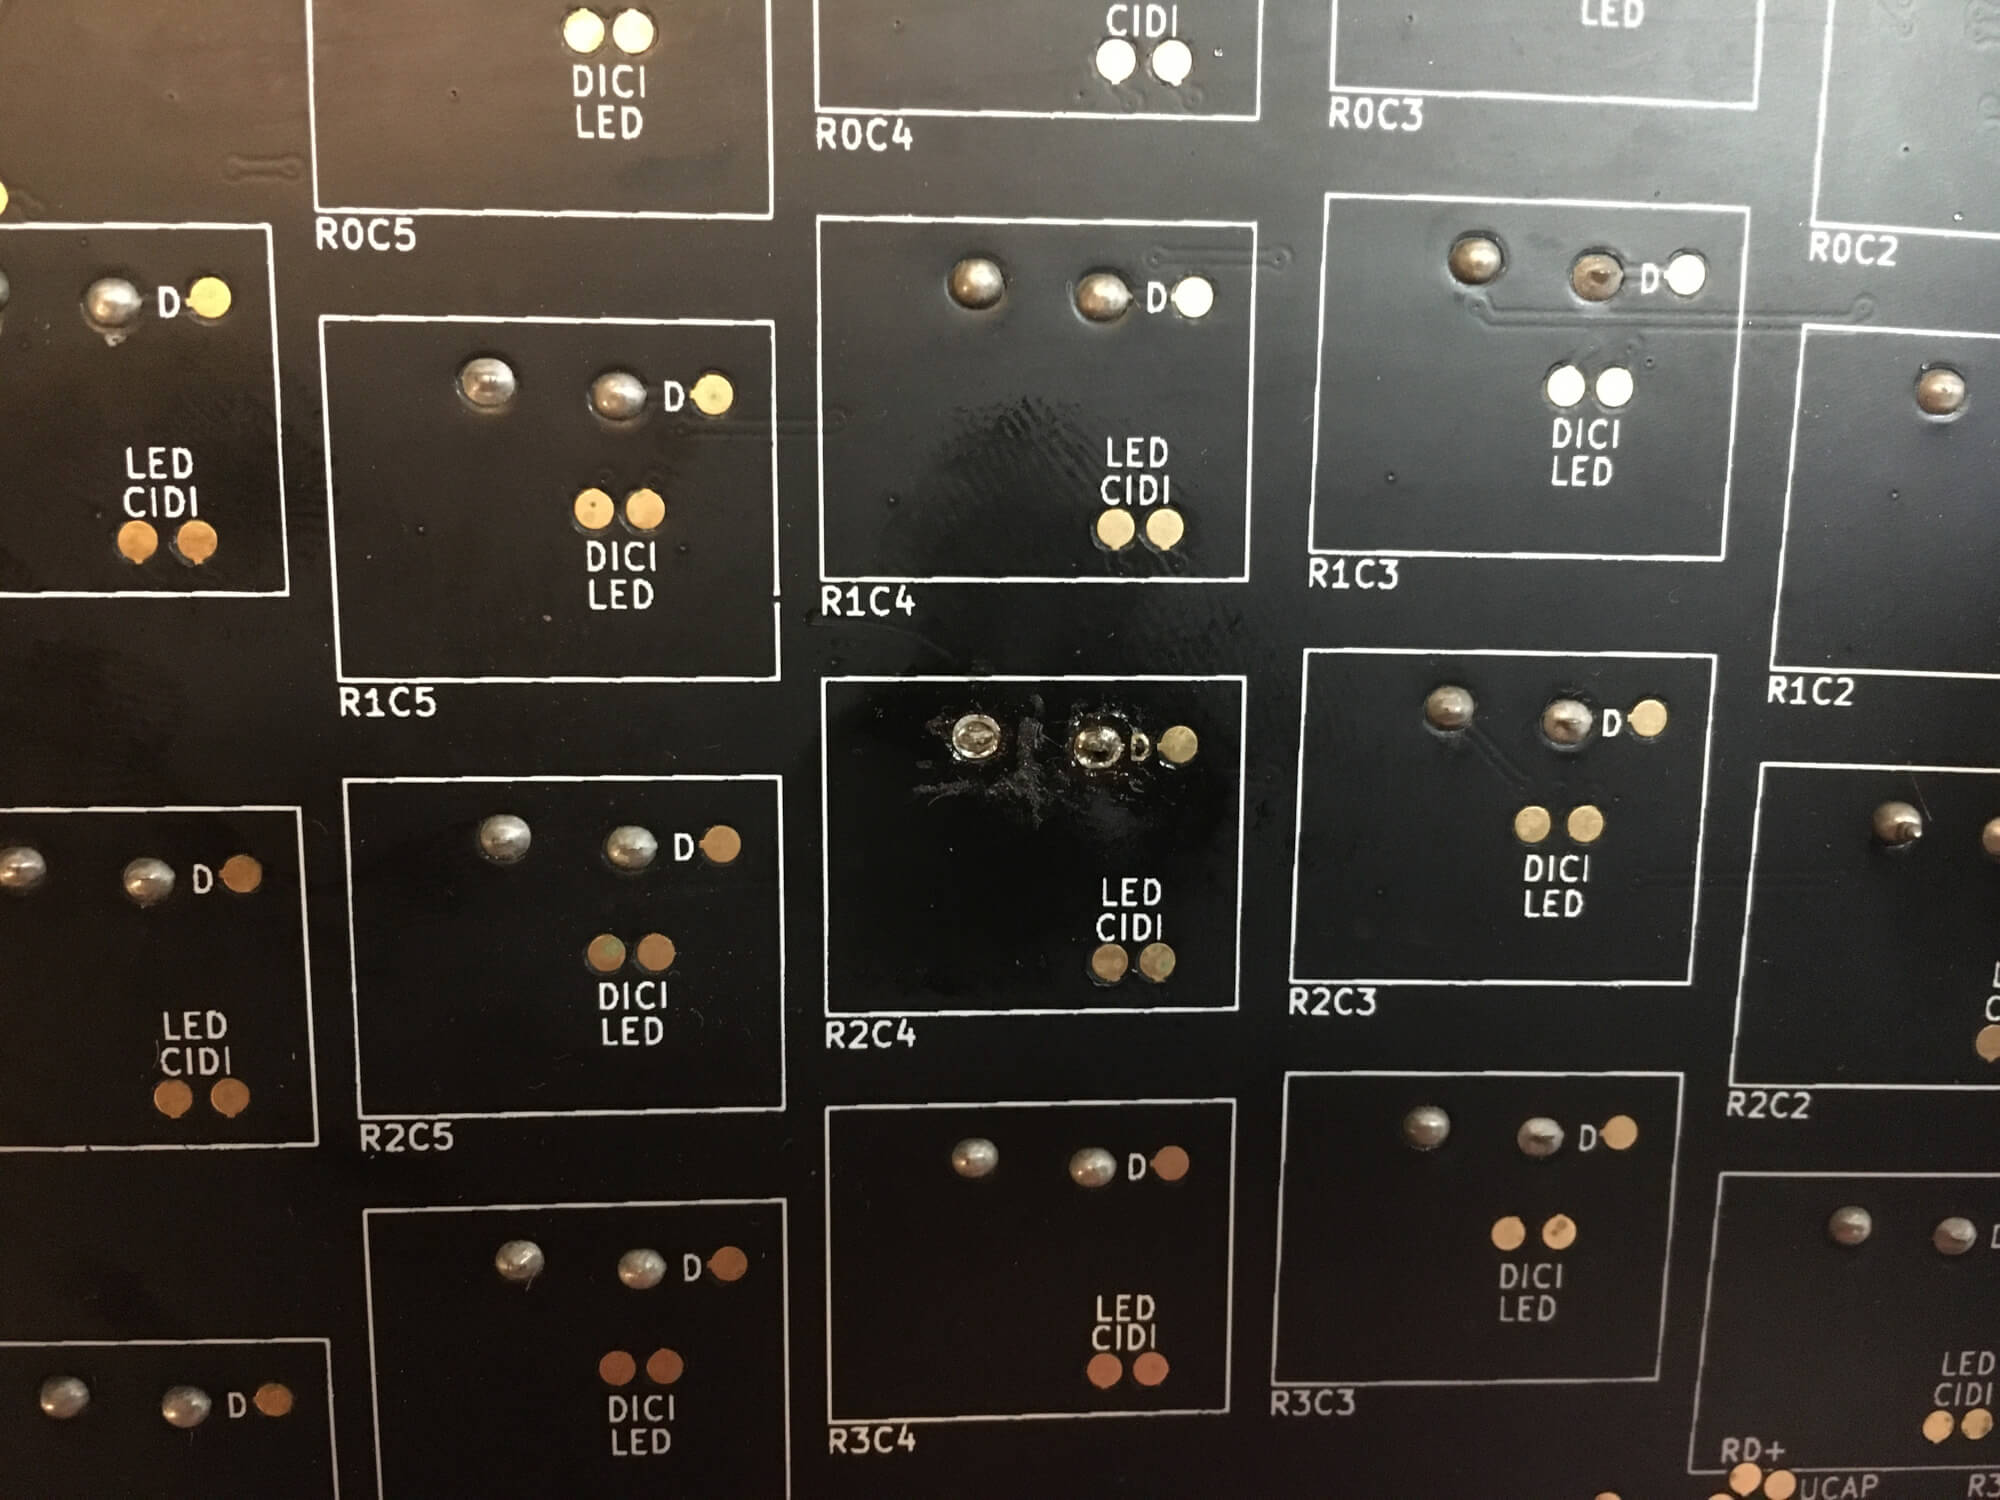
I notice a strange texture around where I desoldered these wires: I assume that's stress on the board from the heat, and from my poor technique. I'm worried about that, but there's not much I can do about it.
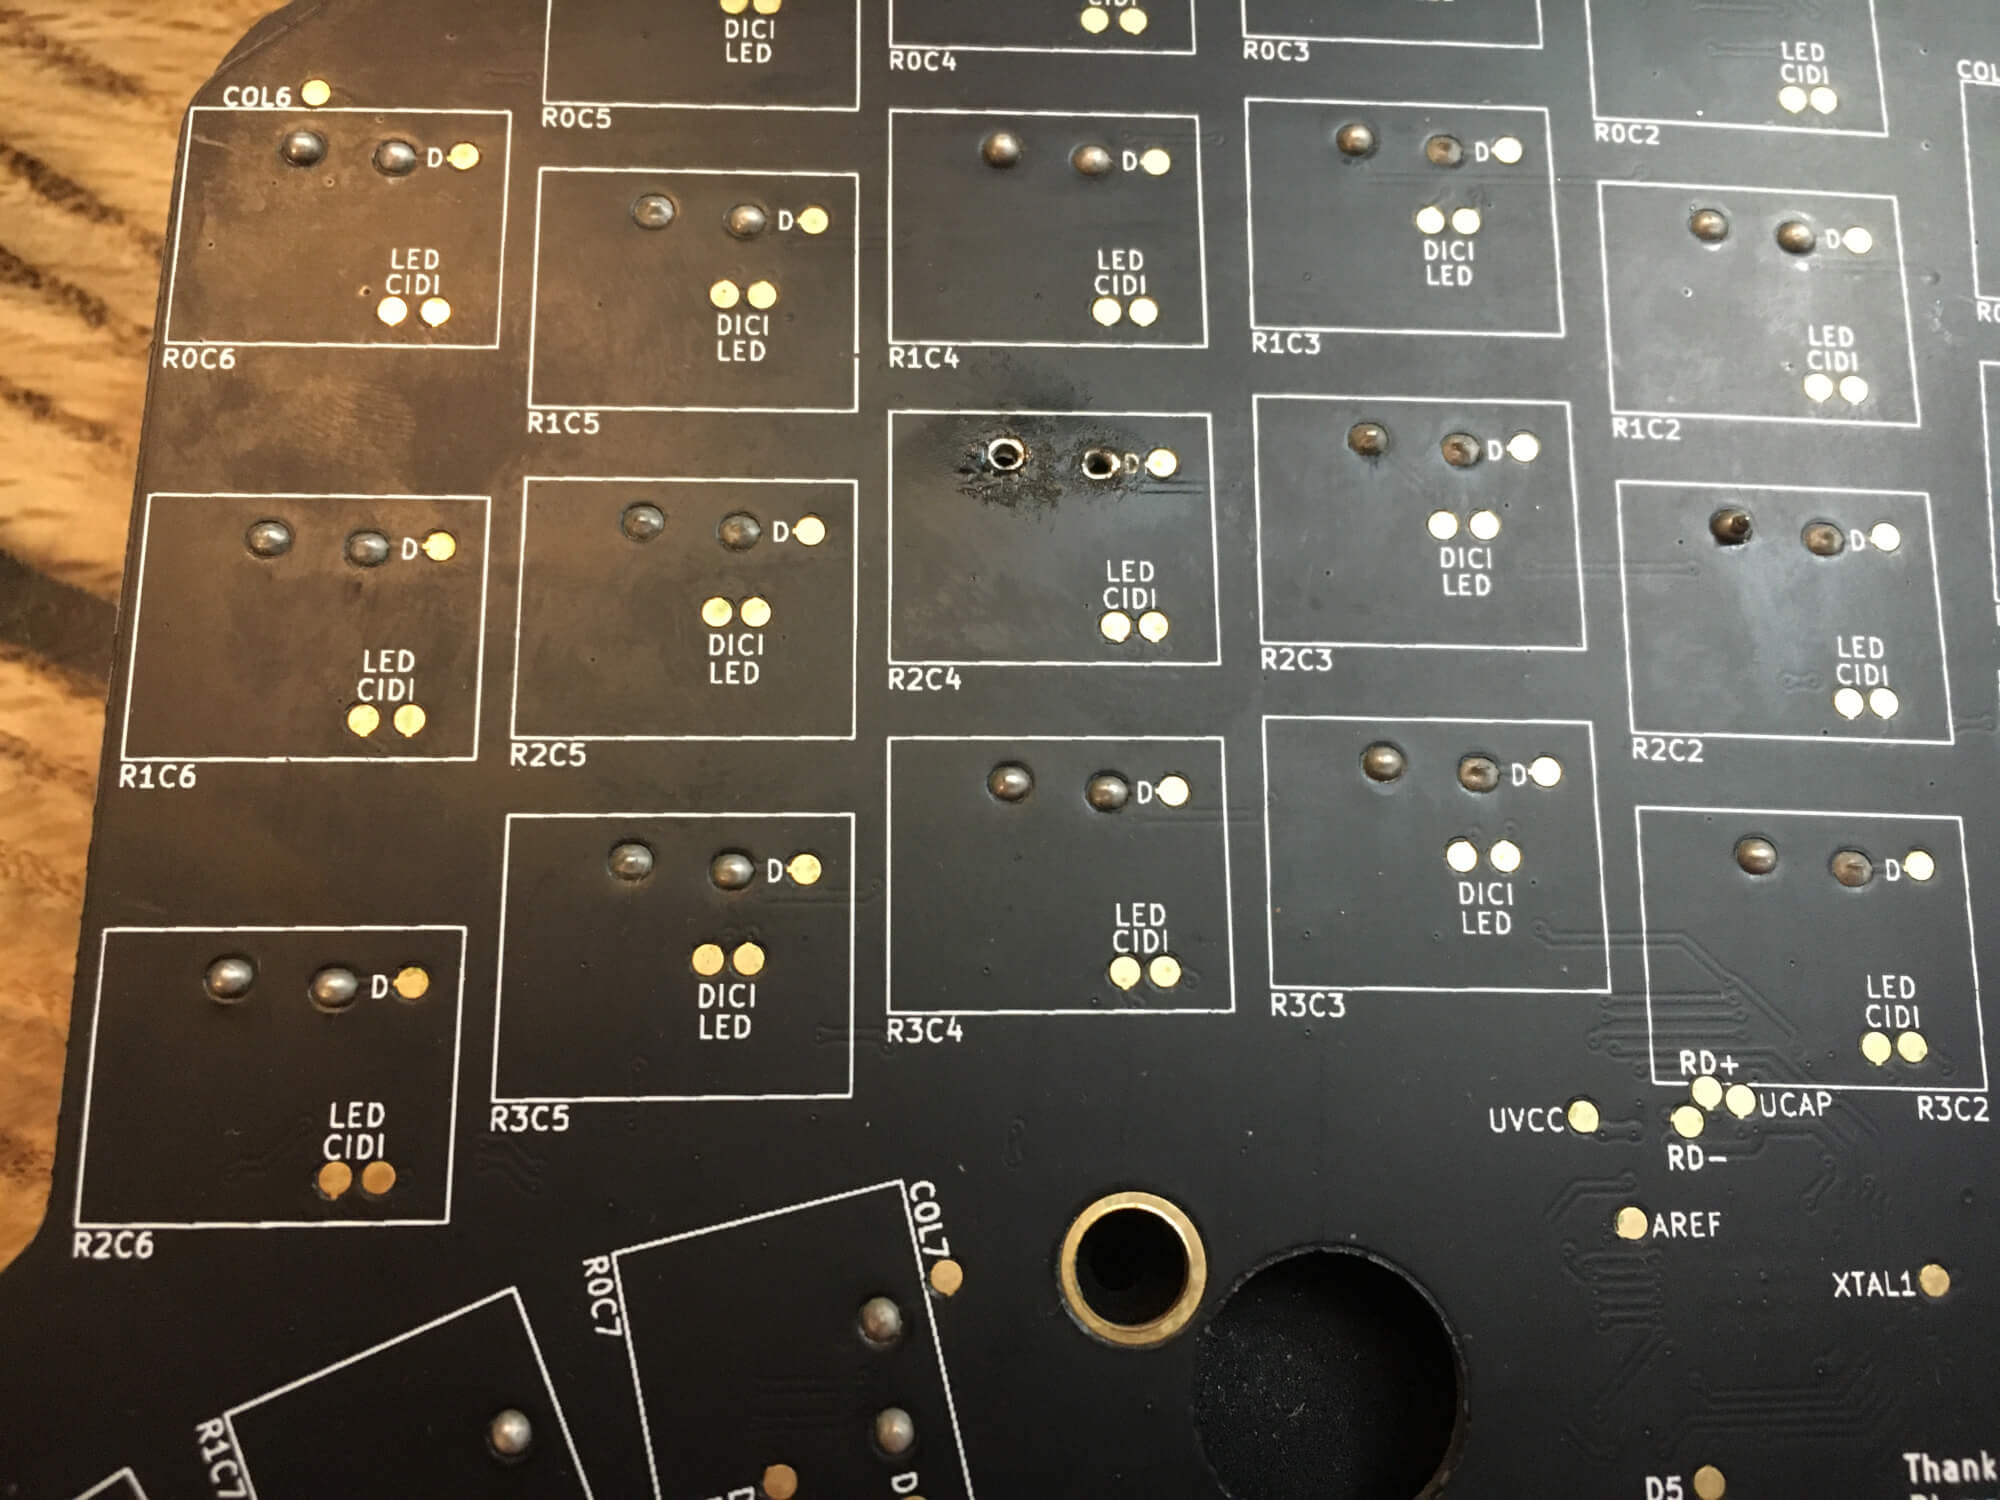
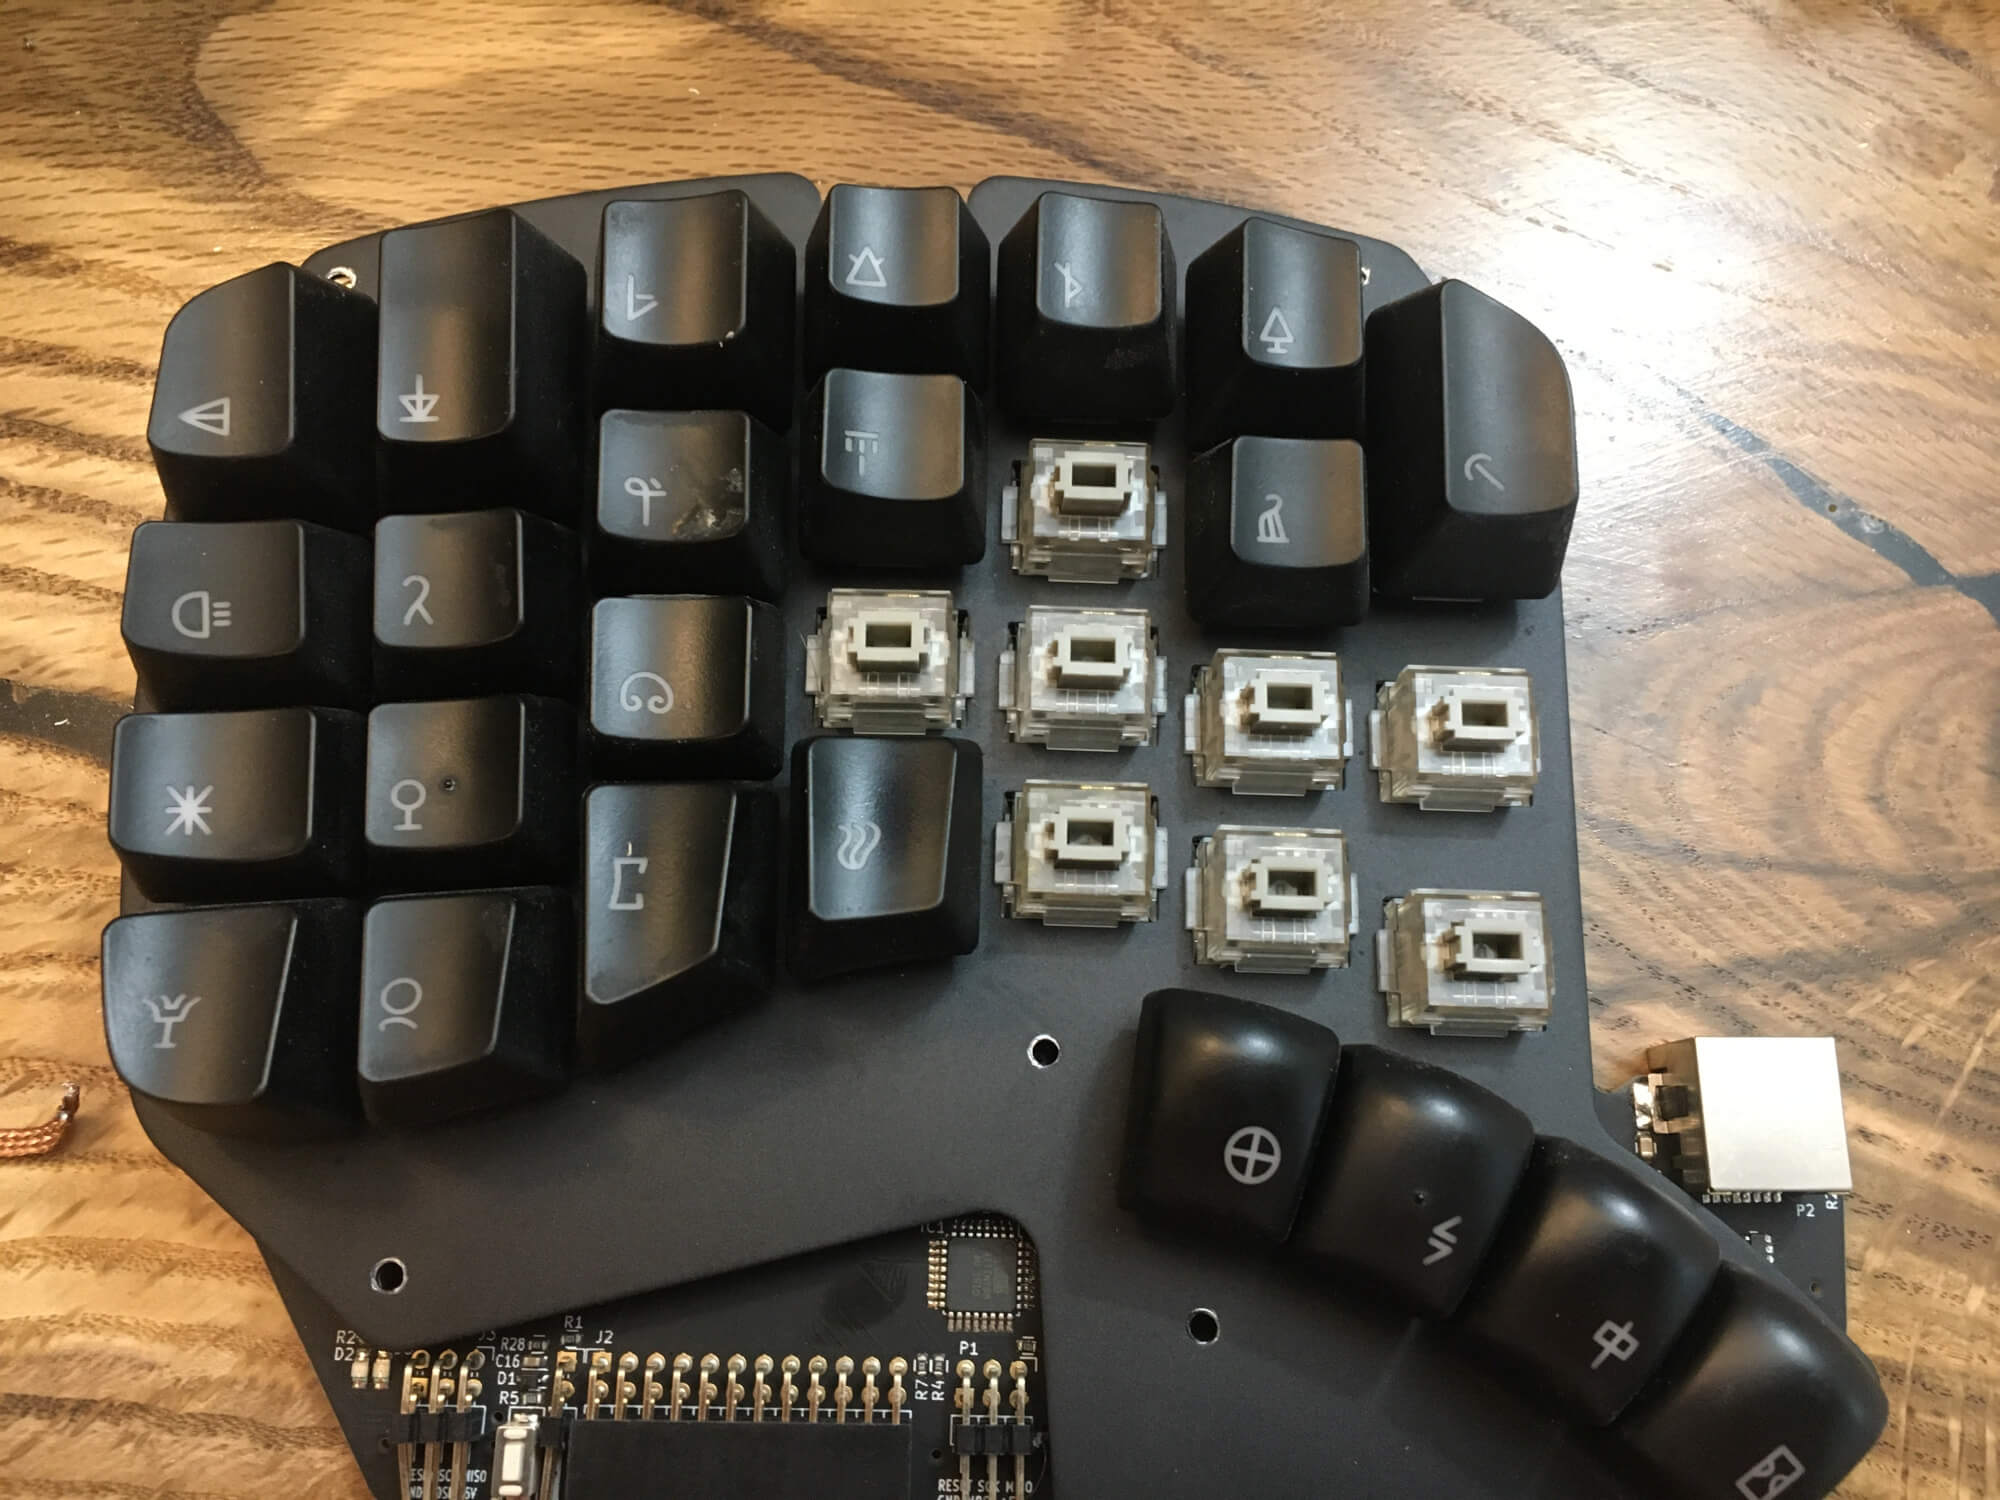
From here it was mercifully easy. I removed the broken switch, and the new switch “clicked” nicely into place. I didn’t do a beautiful job resoldering: I had trouble making a nice little mound like before, most of the solder stuck to my iron. It’s a little uglier before, but no one will ever see it, so I can live with it.
At this point I nervously plugged the keyboard back into my keyboard, and hesitantly pressed down on the new switch.
It worked!
My first time working on my mechanical keyboard, and it was a success.
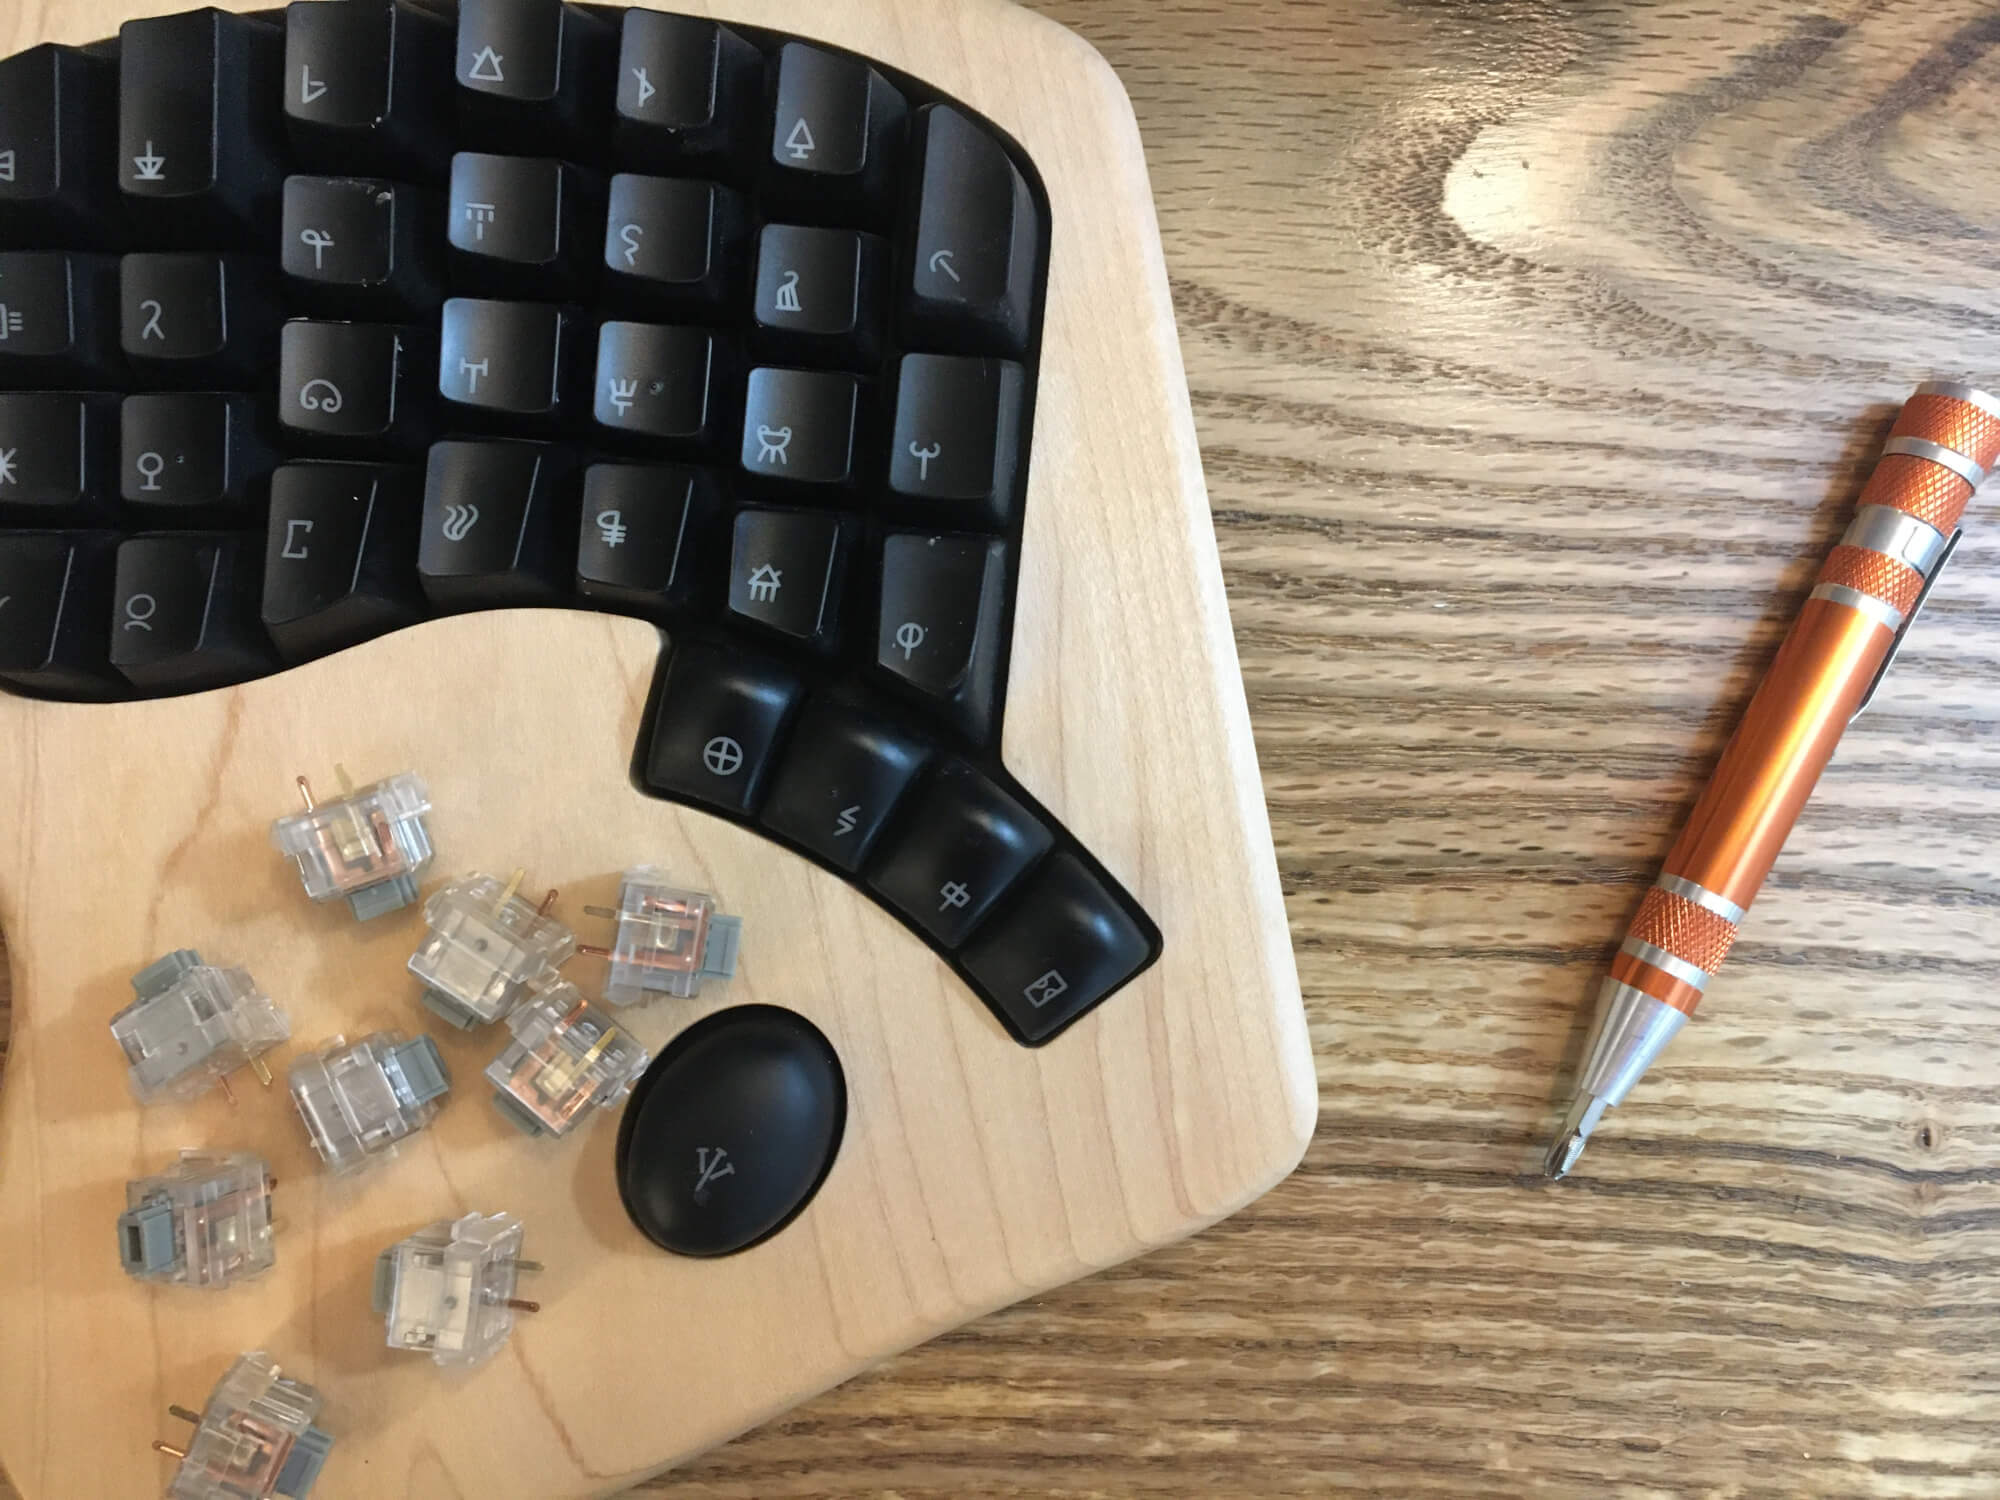
All that remained was reassembly.
What did I learn? #
Thanks to the happy ending, this was a great experience. Soldering is more of a challenge than I anticipated, but I’m glad I did it. If and when I have another switch go out, I’m confident I could fix it again.
And I have plenty of extra switches now to boot.
Changelog
- Publishes new article about fixing my keyboard